Build Your Own Wooden Tool Box: A Step-by-Step DIY Project
Creating a wooden tool box is a fun DIY project. It helps you organize your tools and shows off your woodworking skills. It’s great for using up scrap wood and improving your DIY skills.
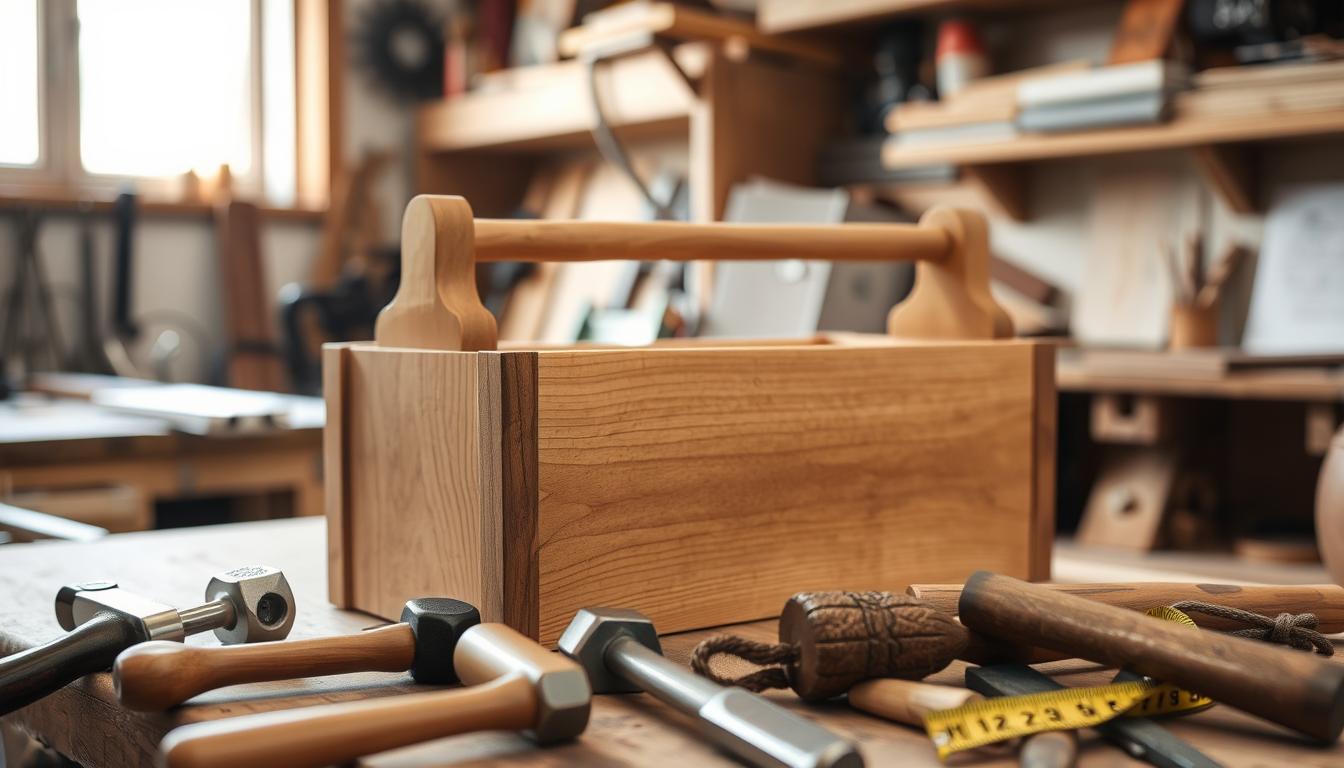
This guide will help you make a storage solution that meets your needs. You’ll need scrap wood, nails, a hammer, a hand saw, a measuring tape, a pen, and sanding paper. This DIY woodworking project is a great way to make something useful and improve your skills.
Key Takeaways
- Customize your tool storage with a personalized wooden tool box.
- Utilize scrap wood to reduce waste and save on materials.
- Enhance your DIY skills with a practical woodworking project.
- Organize your tools efficiently with a tailored storage solution.
- Enjoy the satisfaction of creating something with your own hands.
Why Build Your Own Wooden Tool Box
Wondering how to make a tool box that fits your needs? Building one yourself is the answer. A handmade tool storage solution lets you design it to your liking. This ensures your tools are organized and easy to find.
Benefits of a Custom-Made Tool Box
A custom wooden box design has many advantages over store-bought ones. You can pick the size, material, and features you need. This makes your tool box more functional and adds a personal touch to your workspace.
Some key benefits include:
- Increased storage capacity tailored to your tool collection
- Improved organization with custom dividers and compartments
- Enhanced durability through the use of high-quality materials
Personalization Options
Building your own tool box lets you add personalization options. You can choose the wood type, color, and finish to match your workshop. You can also add features like a removable tray or a lock.
Here’s a comparison of different personalization options:
| Feature | Description | Benefit |
|---|---|---|
| Custom Size | Tailor the dimensions to fit your tools and workspace | Optimized storage and accessibility |
| Material Choice | Select from various types of wood and finishes | Aesthetic appeal and durability |
| Additional Features | Add dividers, trays, or locking mechanisms | Enhanced functionality and security |
Skill Level Requirements
Many DIY enthusiasts worry about their skills for a project like building a tool box. The good news is that how to make a tool box can be done by anyone. Beginners can start with simple designs and get better as they go.

Materials You’ll Need
Choosing the right materials is key for a successful homemade tool box plans. The right materials help make a tool box that’s both functional and long-lasting.
Wood Selection
Choosing the right wood is important for both looks and durability. Here are some tips:
- Durability: Hardwoods like oak and maple are great for heavy use.
- Cost: Softwoods like pine are cheaper but still good quality.
Types of Wood for Durability
For a tool box that’s tough, consider these woods:
- Oak: It’s strong and durable.
- Maple: It has a smooth finish and lasts long.
Budget-Friendly Options
Looking to save money? Try these:
- Pine: It’s softwood, cheap, and easy to work with.
- Plywood: It’s engineered wood, cheaper than solid hardwoods.

Hardware Components
You’ll also need hardware to put your tool box together.
Hinges, Handles, and Fasteners
Here are the must-haves:
- Hinges for smooth lid opening and closing.
- Handles or grips for easy carrying.
- Nails, screws, or other fasteners for assembly.
Adhesives and Finishes
Right adhesives and finishes make your tool box look good and last long.
- Adhesives: Wood glue is key for bonding wood.
- Finishes: Use varnish or polyurethane to protect and beautify the wood.
By picking the right materials, you’re off to a great start on your DIY woodworking project. It will meet your needs and last for years.
Essential Tools for This Project
Getting the right tools is key to making your own wooden tool box. The right tools make the job easier and ensure your tool box is top-notch.
Power Tools
Power tools are a must for cutting, drilling, and shaping wood. You’ll need:
Saw Options
- Circular Saw: Great for straight cuts in wood.
- Jigsaw: Perfect for curved cuts or odd shapes.
Drills and Drivers
- Drill Press: Offers precise drilling.
- Cordless Drill/Driver: Useful for drilling and screwing.
Hand Tools
Hand tools are crucial for precise work or when power tools won’t do.
- Hammer: For tapping pieces into place.
- Hand Saw: For fine cuts or tight spots.
- Clamps: Hold pieces together while gluing.
Measuring and Marking Tools
Woodworking needs accurate tools for measuring and marking.
- Tape Measure: For measuring lengths and widths.
- Square: Makes sure corners are square and cuts are right.
- Pencil and Marking Gauge: For marking cut lines and layouts.
With these tools, you’re ready to start your DIY wooden tool box project. You’ll work efficiently and effectively.
Safety Precautions for Woodworking
When starting a DIY woodworking project, safety is key. Woodworking can be dangerous, with sharp objects, loud noises, and flying debris. It’s important to take steps to avoid accidents and keep your workspace safe.
Personal Protective Equipment
Wearing personal protective equipment (PPE) is essential. You’ll need safety glasses to protect your eyes, earplugs for your hearing, and a dust mask to avoid inhaling wood dust. The right PPE can greatly reduce injury risks.
Workshop Safety Tips
Keeping your workshop safe is crucial. Make sure it’s well-lit and clear of clutter. Clutter can cause tripping or block your work. Clean your tools and workspace regularly to prevent accidents.
Also, keep a fire extinguisher nearby and know how to use it. This is important for safety.
Safe Tool Handling Practices
Handling tools safely is vital. Always read the tool’s instructions before use. Use the right tool for the job and keep tools in good condition. Store them properly when not in use.
When using power tools, avoid loose clothing and keep your fingers away from blades. Following these tips can help you stay safe while working on your custom wooden box design or other projects.
Planning Your Tool Box Design
A good design is key to a useful and lasting wooden tool box. Before you start building, plan your design. Think about the size, style, and how it will work for you.
Determining the Size
The size of your tool box matters a lot. It depends on where it will go and what tools it will hold.
Based on Tool Collection
First, list all the tools you want in your box. Measure the biggest tools to figure out the box’s minimum size. Think about how to organize your tools well.
Portability Considerations
If you’ll be moving the box a lot, make it smaller and lighter. A portable box should be easy to carry without being too heavy.
Choosing a Style
The style of your tool box affects how it looks and works. Pick a design that matches your workshop or garage. Decide if you want something simple or more detailed.
Creating a Blueprint
After picking the size and style, make a detailed blueprint. This step is important for seeing your project and making changes before you start.
Measurements and Dimensions
Put exact measurements and dimensions in your blueprint. This helps you figure out how much wood and other materials you need. It also makes sure everything fits right.
Material Requirements Calculation
Use your blueprint to figure out how much wood and other materials you’ll need. Think about the wood’s thickness and any extra features like dividers or a lid.
By planning your tool box design well, you can make a custom box that fits your needs. Here are some important things to remember:
- Measure your tools and workspace to find the best size.
- Pick a style that matches your workshop and your taste.
- Make a detailed blueprint to help you build it.
Preparing Your Wood
Now that you have your design plan, it’s time to prepare the wood for your DIY wooden tool box. This step is very important. It sets the stage for the whole project.
Measuring and Marking
Getting your measurements right is crucial for a good project. Use a precision ruler and a sharp pencil to mark the wood. Make sure to double-check your measurements to avoid mistakes.
Cutting the Pieces
Cutting the wood needs careful planning and doing. You’ll need to cut the base, sides, and handle parts accurately.
Cutting the Base and Sides
For the base and sides, you can use a circular saw or a hand saw. Choose what you prefer or what you have. Use a guide rail or a fence for straight cuts.
Preparing the Handle Components
The handle parts need precise cutting to fit perfectly. Use a miter saw or a jigsaw for curved cuts, if your design has them.
Sanding the Components
After cutting, sand all parts to smooth out any rough edges. Start with coarse-grit sandpaper (about 120 grit) and then move to finer grits (220 grit or higher) for a smooth finish.
| Component | Cutting Tool | Sanding Grit |
|---|---|---|
| Base | Circular Saw | 120-220 |
| Sides | Hand Saw or Circular Saw | 120-220 |
| Handle | Miter Saw or Jigsaw | 220-320 |
By following these steps, you’ll have your wood components ready for assembly. This will bring your homemade tool box plans to life.
Build Your Own Wooden Tool Box: A Step-by-Step DIY Project
Now it’s time to show off your DIY skills. With everything ready, start building your tool box.
Assembling the Base
The base is the start of your tool box. You’ll make the bottom panel, add side panels, and put on end pieces.
Creating the Bottom Panel
First, measure and cut the wood for the bottom panel. Make sure it’s smooth and without flaws.
Tip: Apply a wood sealant to keep the bottom dry.
Attaching the Side Panels
The side panels are key for your tool box’s strength. Use wood glue and nails or screws to attach them.
- Make sure the panels line up right.
- Hold them in place until the glue dries.
Securing the End Pieces
The end pieces add support and finish the base. Attach them like the side panels.
Constructing the Handle
A good handle makes your tool box easy to carry. You’ll shape the handle and attach it.
Shaping the Handle
Cut and shape the handle as you like. Sand it to make it smooth.
Tip: Add a grip coating for better grip.
Attaching to the Box
Use screws or bolts to attach the handle. Make sure it can hold the weight of your tools.
Adding Dividers and Compartments
Dividers and compartments keep your tools organized. You can make fixed dividers or removable organizers.
Fixed Dividers
Fixed dividers stay in place. Use wood glue and nails to fix them.
| Divider Type | Attachment Method | Advantages |
|---|---|---|
| Fixed | Nails/Screws | Permanent, sturdy |
| Removable | Sliding/Friction fit | Flexible, adjustable |
Removable Organizers
Removable organizers let you change how you organize your tools. Make them fit well in the box, so they’re easy to move.
Benefit: You can change or add organizers as your tools change.
Adding Functional Features
After building your tool box’s basic structure, it’s time to add useful features. These will make your tool box more convenient and practical.
Installing Hinges for a Lid
A lid protects your tools from dust and damage. It also makes carrying them easier. To add a lid, you need to install hinges that can handle the lid’s weight and the tools inside.
Measuring and Placement
Measure and mark where to place the hinges carefully. Make sure they’re evenly spaced and aligned right. This ensures the lid opens smoothly.
Secure Attachment Techniques
Use robust screws to attach the hinges to the lid and the tool box. Tighten them well to avoid sagging or coming loose later.
Creating Tool Holders
Tool holders keep your tools organized and easy to access. You can make them from wood or metal, depending on your tools and preference.
- Measure your tools to find the right holder size.
- Cut the material to size and shape it for your tools.
- Attach the holders inside the tool box with the right adhesives or fasteners.
Adding a Carrying Handle
A sturdy handle makes your tool box easier to carry. Choose a handle that’s comfortable and attach it securely with strong screws or bolts.
Installing a Latch or Lock (Optional)
Adding a latch or lock can secure your tools. This is great if you have valuable tools or if the tool box is shared.
These functional features greatly improve your custom wooden box design. Whether you’re a pro or a DIY fan, a well-made tool box is essential.
Finishing Your Wooden Tool Box
Now that your wooden tool box is built, it’s time to finish it. A well-finished tool box looks great and keeps the wood safe from damage.
Final Sanding Techniques
Final sanding is key before adding a finish. It makes the surface smooth and even.
Progression of Sandpaper Grits
Begin with medium-grit sandpaper (120-150 grit) to smooth out any flaws. Then, move to finer grit (220-240 grit) for a silky finish.
Smoothing Edges and Corners
Edges and corners need extra care to avoid splintering. Use a sanding block to keep sandpaper flat and sand evenly.
Staining Options
Staining your tool box can make it look better and protect the wood. Pick a stain that matches the wood and your desired color.
Color Selection
Think about your workshop’s color when choosing a stain. Natural wood tones, dark walnut, and rustic red are popular choices.
Application Methods
Use a clean cloth or foam brush to apply stain. Work in small areas for even coverage and remove excess stain to avoid drips.
Applying Protective Coatings
A protective coating is vital to keep your tool box safe from moisture and wear.
Varnish vs. Polyurethane
Varnish and polyurethane both protect well, but differ. Varnish is harder and more scratch-resistant, while polyurethane is flexible and easy to apply.
Multiple Coat Application
Apply thin coats, letting each dry as instructed. Lightly sand between coats for a smooth finish.
Here’s a comparison of different finishes:
| Finish Type | Durability | Ease of Application |
|---|---|---|
| Varnish | High | Moderate |
| Polyurethane | High | Easy |
| Wax | Low | Easy |
By following these steps and picking the right finish, you’ll have a beautiful and durable wooden tool box for years.
Troubleshooting Common Issues
Even with careful planning, problems like gaps, misalignments, and wood splitting can still happen. It’s important to fix these issues quickly. This ensures your wooden tool box is both durable and functional.
Fixing Gaps and Misalignments
Gaps and misalignments often come from bad measuring or cutting. For small gaps, wood filler works well. For bigger gaps, you might need wood filler and extra wooden strips.
- Use a level to ensure the surfaces are properly aligned.
- Apply wood glue carefully to avoid excess squeeze-out.
- Clamp the pieces firmly until the glue dries.
Dealing with Wood Splitting
Wood splitting can occur when nailing or screwing. To avoid this, pre-drill holes that are slightly smaller than the screw or nail. If splitting happens, apply wood glue and clamp until it dries.
Pre-drilling holes is a simple yet effective way to prevent wood from splitting.
Correcting Finish Problems
Finish issues, like uneven staining or polyurethane, can be fixed. Lightly sand the area and reapply the finish. Make sure the surface is clean and dry first.
Reinforcing Weak Points
To make weak points stronger, add internal brackets or use thicker wood. Also, using strong adhesive during assembly helps a lot.
By tackling these common problems, you can make sure your DIY project turns into a strong and useful tool box.
Conclusion
Building your own diy wooden tool box is a rewarding DIY project. It not only provides a practical storage solution but also showcases your craftsmanship. By following this guide, you’ve learned to create a custom wooden box design that fits your needs.
A handmade tool storage solution is not just functional; it’s also a reflection of your personal style. You can customize your tool box by trying different wood finishes, adding unique features, or adding personalized touches.
The joy of creating something with your own hands is unmatched. Your custom tool box is now ready to serve you, keeping your tools organized and within easy reach. As you continue to work on various projects, you’ll appreciate the value of having a well-crafted, handmade tool storage solution.